
How To Change Invoice Template In Quickbooks Desktop - Go to the gear icon on the top menu. Web click the new style button in the upper right corner to create a new template. You can customize these templates to control how. From there, click on ‘create invoices.’. Web in quickbooks desktop, you can create custom templates for forms. Then, select “create invoices.” step 2: Launch quickbooks and navigate to the “customers” menu. Select invoice and go to the. Start by opening quickbooks, then go to the ‘customers menu.’. Web to change the default custom template, just follow the steps below:

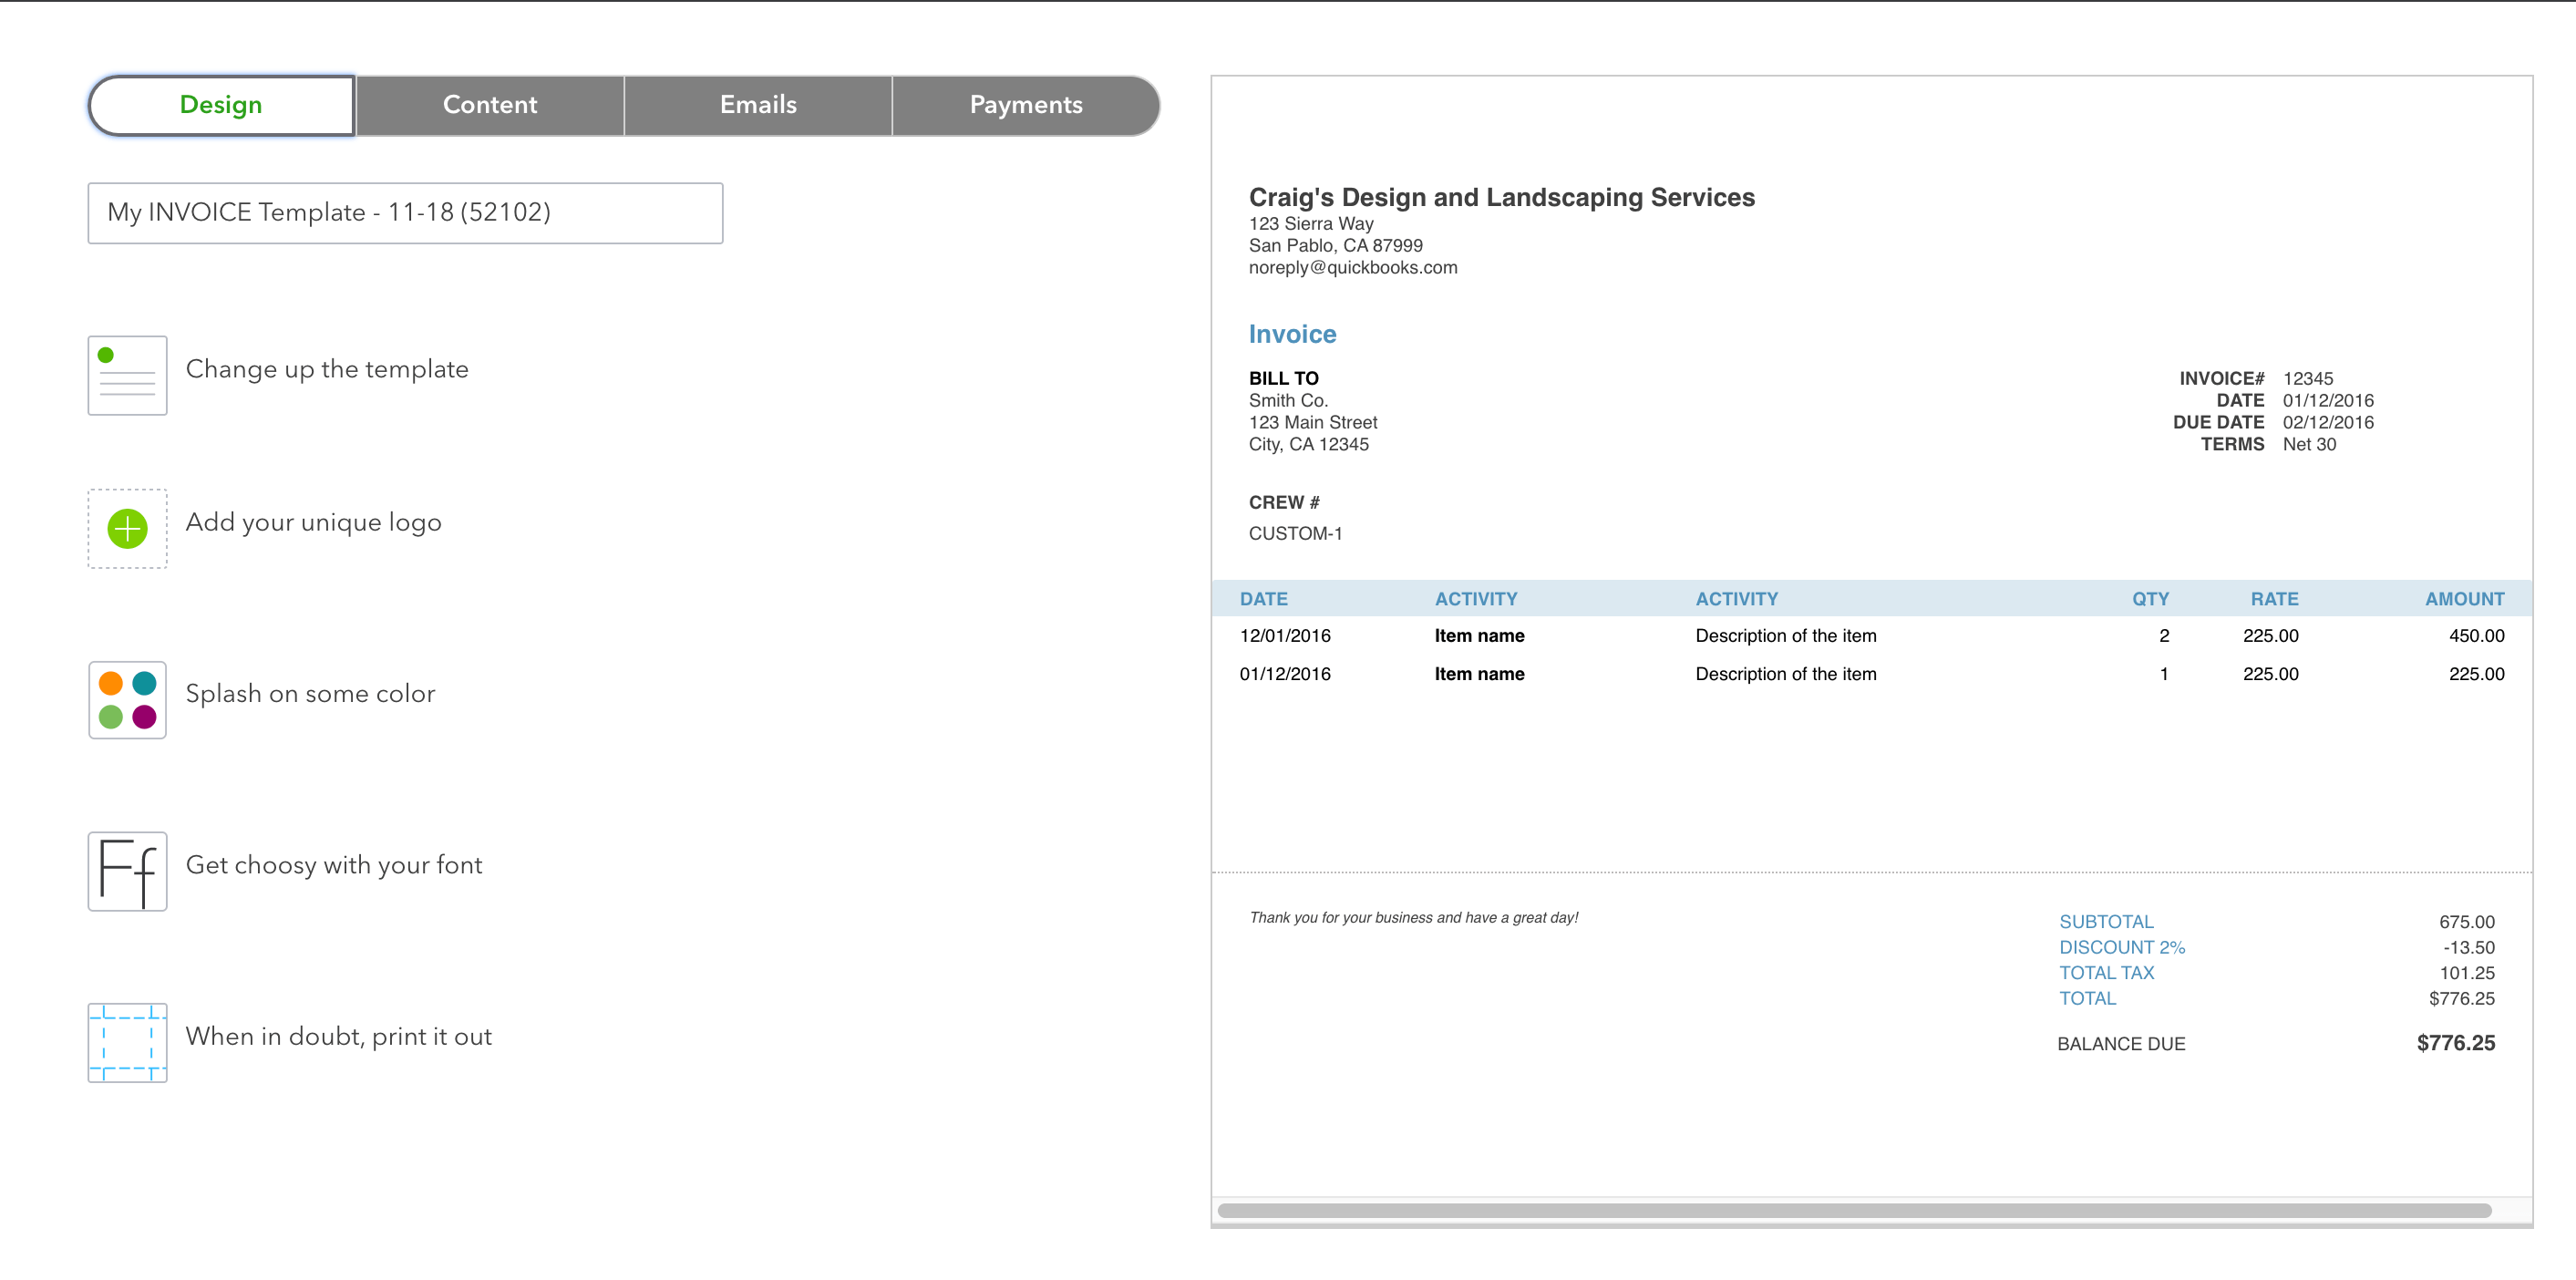
How To Customize Invoices in QuickBooks Online
From there, click on ‘create invoices.’. Web to change the default custom template, just follow the steps below: Select invoice and go to the. Start by opening quickbooks, then go to the ‘customers menu.’. Web in quickbooks desktop, you can create custom templates for forms.

How To Create an Invoice in QuickBooks Desktop Gentle Frog
You can customize these templates to control how. Go to the gear icon on the top menu. Web click the new style button in the upper right corner to create a new template. Launch quickbooks and navigate to the “customers” menu. Then, select “create invoices.” step 2:

Quickbooks Modify Invoice Template
Web to change the default custom template, just follow the steps below: You can customize these templates to control how. Web click the new style button in the upper right corner to create a new template. Launch quickbooks and navigate to the “customers” menu. Start by opening quickbooks, then go to the ‘customers menu.’.

Customize Invoice Templates in QuickBooks Online YouTube
Web to change the default custom template, just follow the steps below: You can customize these templates to control how. From there, click on ‘create invoices.’. Go to the gear icon on the top menu. Launch quickbooks and navigate to the “customers” menu.

How To Edit Quickbooks Invoice Template
Web click the new style button in the upper right corner to create a new template. Start by opening quickbooks, then go to the ‘customers menu.’. Launch quickbooks and navigate to the “customers” menu. Web in quickbooks desktop, you can create custom templates for forms. From there, click on ‘create invoices.’.
How To Edit Quickbooks Invoice Template
Launch quickbooks and navigate to the “customers” menu. Web click the new style button in the upper right corner to create a new template. Web to change the default custom template, just follow the steps below: Start by opening quickbooks, then go to the ‘customers menu.’. Web in quickbooks desktop, you can create custom templates for forms.

How To Modify Invoice Template In Quickbooks Desktop
Select invoice and go to the. Then, select “create invoices.” step 2: You can customize these templates to control how. Web click the new style button in the upper right corner to create a new template. Launch quickbooks and navigate to the “customers” menu.

How To Edit Invoice Template In Quickbooks Desktop
Go to the gear icon on the top menu. Launch quickbooks and navigate to the “customers” menu. Start by opening quickbooks, then go to the ‘customers menu.’. Web click the new style button in the upper right corner to create a new template. Select invoice and go to the.
You can customize these templates to control how. Web click the new style button in the upper right corner to create a new template. Go to the gear icon on the top menu. Select invoice and go to the. Launch quickbooks and navigate to the “customers” menu. Web to change the default custom template, just follow the steps below: From there, click on ‘create invoices.’. Start by opening quickbooks, then go to the ‘customers menu.’. Web in quickbooks desktop, you can create custom templates for forms. Then, select “create invoices.” step 2:
Web To Change The Default Custom Template, Just Follow The Steps Below:
Web click the new style button in the upper right corner to create a new template. Web in quickbooks desktop, you can create custom templates for forms. Go to the gear icon on the top menu. Select invoice and go to the.
Start By Opening Quickbooks, Then Go To The ‘Customers Menu.’.
You can customize these templates to control how. Launch quickbooks and navigate to the “customers” menu. From there, click on ‘create invoices.’. Then, select “create invoices.” step 2: